I’m a good old fashioned Linux guy, moving towards my 30 years. When you start working with Linux, you come in contact with a terminal sooner or later, and therefor a shell. Most Linux distribution used bash as the default shell, and most of them still use it today.
As long as I remember, I named bash as my favourite shell. Of course I had to work with different shells, including csh, ksh and others. But to be honest, I hated them, because I just was used to Ctrl-R , Ctrl-A and other bash-related gimmicks. I also liked to move around with my cursor keys, even if I’m kind of a vi-addicted sysadmin. So basically I wasn’t really open-minded, nor ready to give another shell a real chance. But as I grew up, I got more experienced and I started to look at things differently – in life and technology. So once upon time, on a long night, I started to dig into different shells, and finally I started to tinkering with zsh.
What is zsh?
To keep it simple, zsh is like bash, but better… way better… I mean it’s like a shell on steroids! Hell this thing is awesome. Wikipedia describes zsh as:
The Z shell (zsh) is a Unix shell that can be used as an interactive login shell and as a powerful command interpreter for shell scripting. Zsh can be thought of as an extended Bourne shell with a large number of improvements, including some features of bash, ksh, and tcsh.
Enough of history, let’s dig into it.
Installing zsh
I’m a Debian-guy, so here’s how you install zsh on Debian:
apt-get update
apt-get install zsh
That’s it, quite simple via package manager. Of course you can do the same thing on RHEL, Fedora or CentOS. Just replace apt with yum and you’re fine (I hope so).
Configuring zsh
This is where it gets complicated… and frustrating! From a configuration point of view, zsh is a beast. There are bazillions of configuration parameters, and thus tons docs and specs. Of course it is possible to go down the DIY path, but as there are bazillions of configuration parameters, you’re looking forward for a long day (or night) of configuring your new lovely shell.
So it seems like the basic configuration of zsh is tricky, and to be honest it always was an issue for me. Fortunately there’s a workaround in form of an open-source and community-driven project called oh-my-zsh. This thing is really awesome, because it will manage your zsh configuration based on plugins.
To install this awesome thing, we get the install shell script from the github project page and execute it:
# Install oh-my-zsh via curl.
sh -c "$(curl -fsSL https://raw.github.com/robbyrussell/oh-my-zsh/master/tools/install.sh)"

# Install oh-my-zsh via wget.
sh -c "$(wget https://raw.github.com/robbyrussell/oh-my-zsh/master/tools/install.sh -O -)"
The script is basically only cloning the github repo to ~/.oh-my-zsh and customizing your ~/.zshrc to load the oh-my-zsh framework.
That’s it, you just installed the self-updating oh-my-zsh framework.
Now you should read the Using Oh My Zsh section to configure your ZSH shell. Oh-my-zsh is configuring your shell via plugins, which can be loaded individually, based on your personal needs.
My zsh / oh-my-zsh config
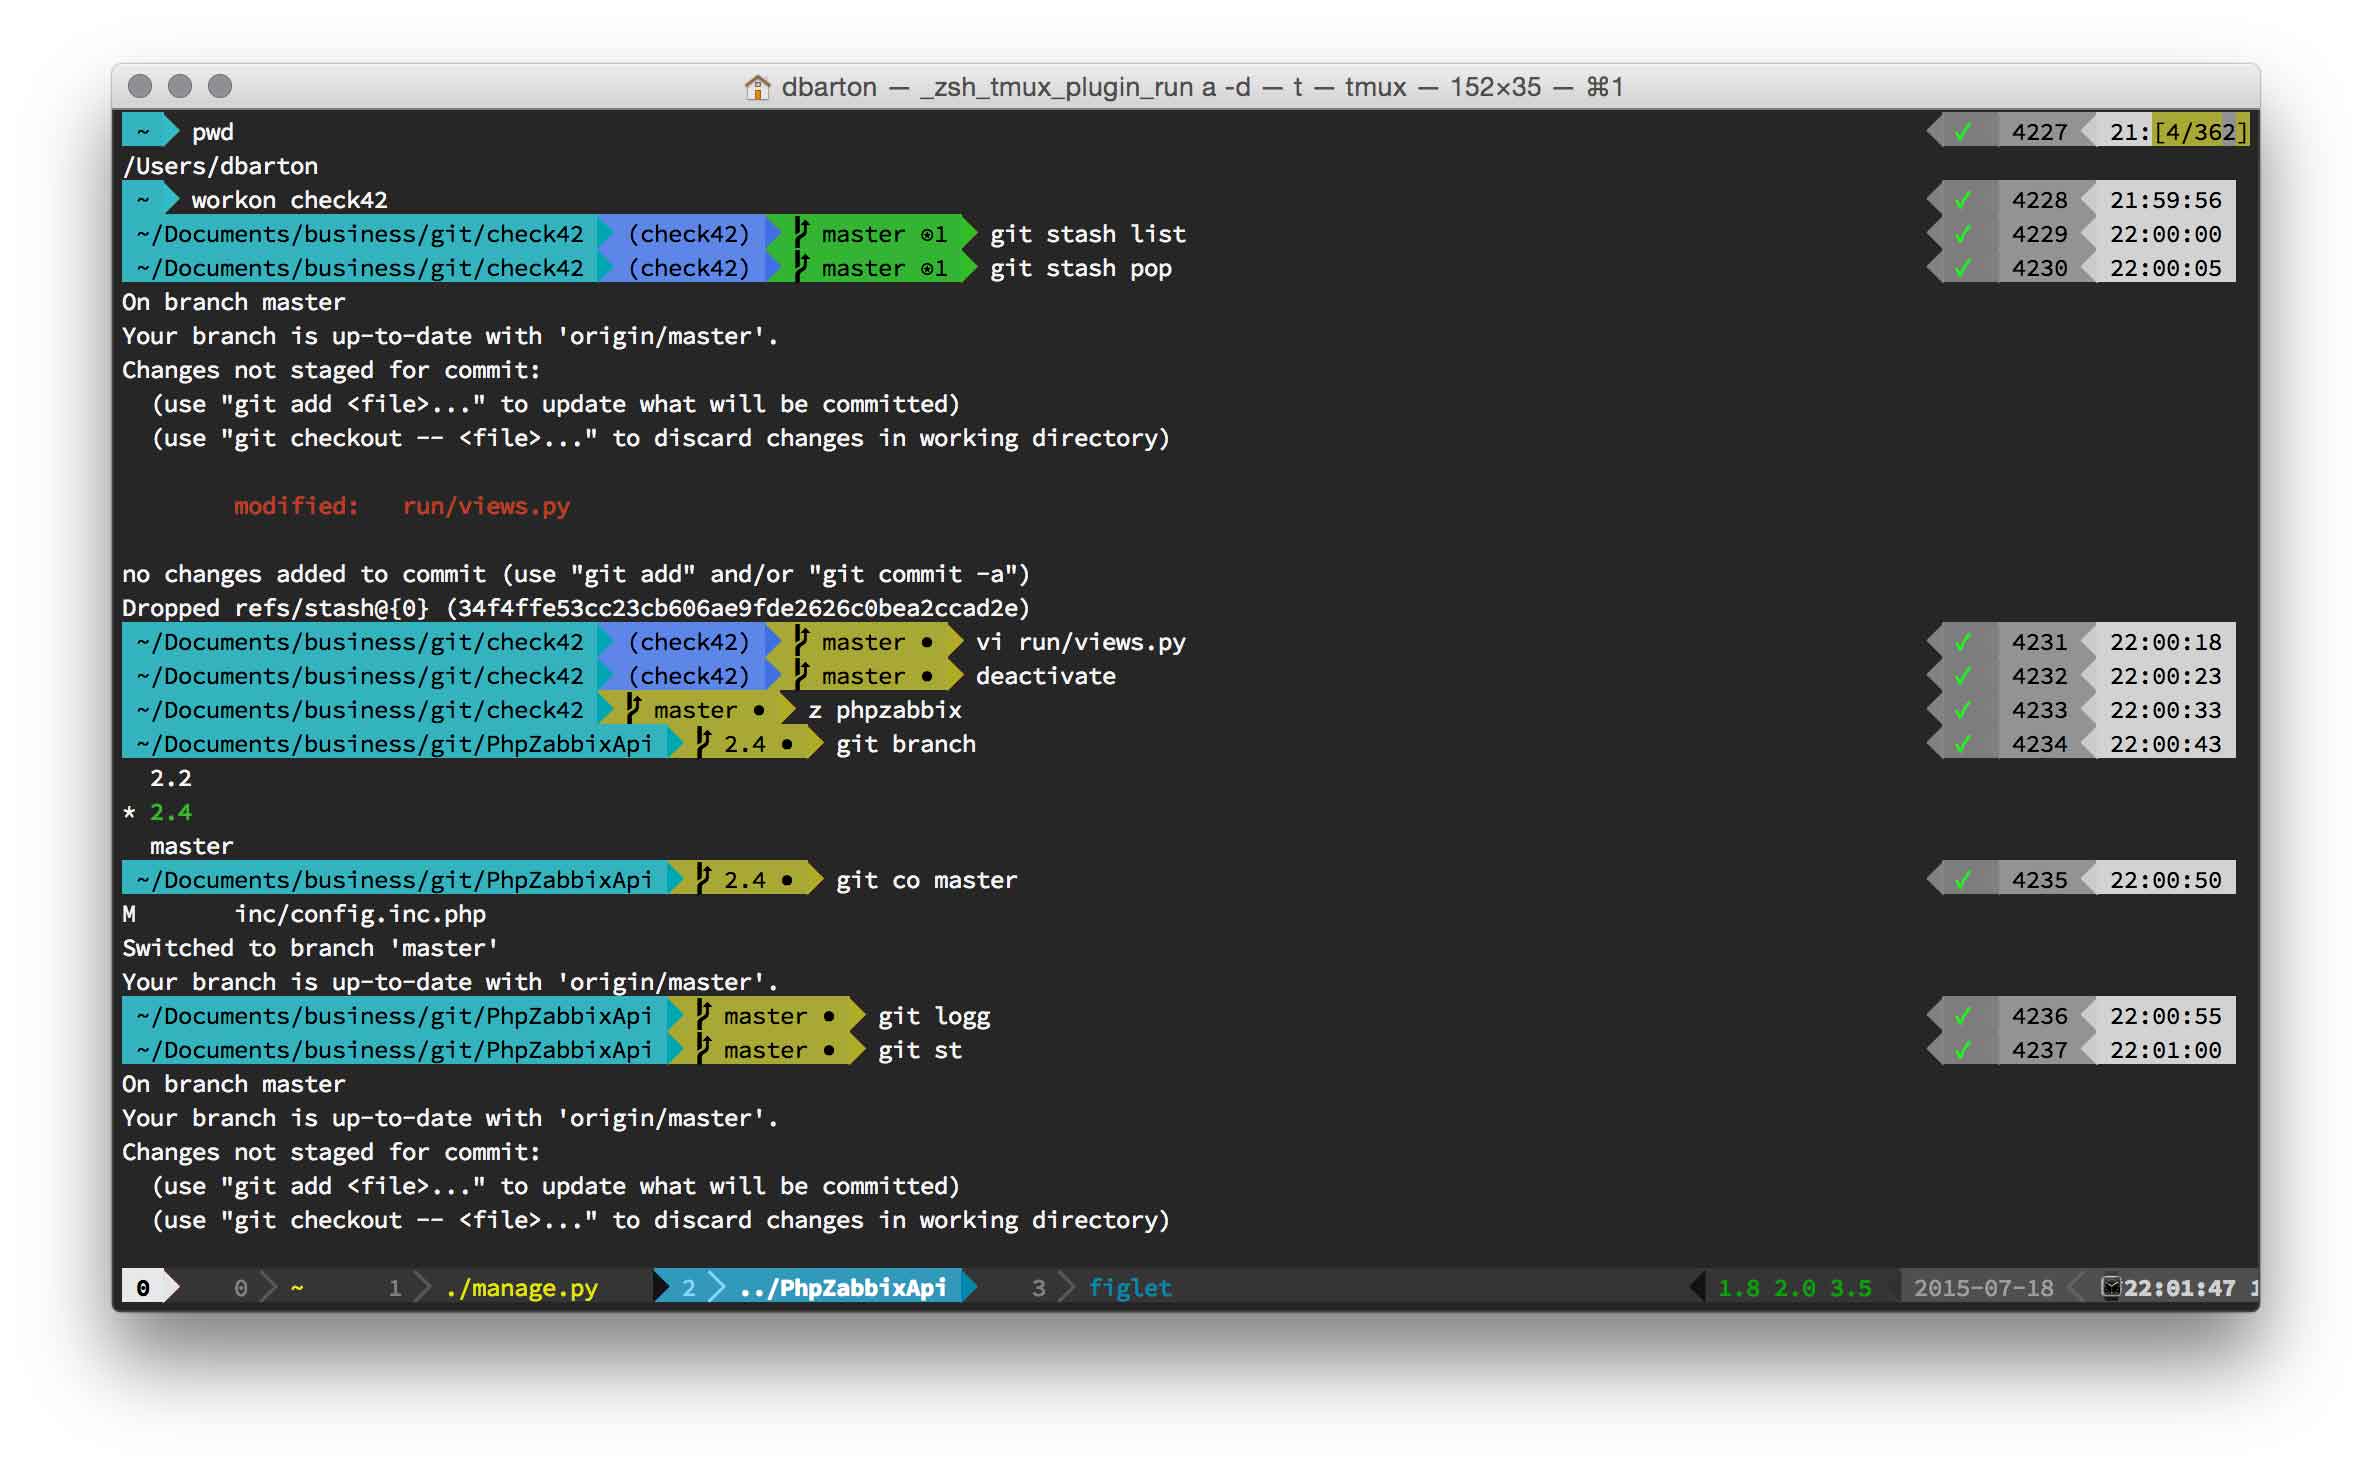
Oh-my-zsh is supporting themes to configure your personal ZSH prompt. There are many themes bundled in oh-my-zsh, and you can find them in the github repo, or on the github wiki page (with screenshots). I started with agnoster, but then moved forward to powerlevel9k, which is a really awesome theme.
To install powerlevel9k, you can clone the github repo:
git clone https://github.com/bhilburn/powerlevel9k.git ~/.oh-my-zsh/custom/themes/powerlevel9k
Now activate the theme in your ~/.zshrc config and optionally configure the prompt (I need it for pythons virtualenv):
ZSH_THEME="powerlevel9k/powerlevel9k"
POWERLEVEL9K_DIR_BACKGROUND="cyan"
POWERLEVEL9K_LEFT_PROMPT_ELEMENTS=(context dir virtualenv vcs)
DEFAULT_USER="${USER}"
UPDATE: Unfortunately powerlevel9k updated recently, so the upper configuration is no longer working. However, you can have a look at my current config on github.
As I wrote before, ZSH is supporting the configuration via plugins, which is really nice. Here’s an example of the plugins I use on my Mac:
plugins=(osx vi-mode tmux z sudo cp docker git python virtualenv virtualenvwrapper django web-search)

# Set virtualenv home directories.
export WORKON_HOME="${HOME}/.venv/"
export PROJECT_HOME="${HOME}/Documents/business/git/"
- osx: Implements some nice commands for OS X
- vi-mode: Activates vi-like functionality (I’m more a vi, than an emacs guy)
- tmux: Enhances the usage for tmux (oh gosh I love tmux)
- z: After learning, it will jump around to the most frequent used directories (this is really awesome!)
- sudo: Press ESC twice and it puts sudo in front of the current command
- cp: Shows progress while copy (command cpv )
- docker: Auto completion for docker commands and container IDs
- git: Adds some git aliases
- python: Completion for the python interpreter
- virtualenv: Adds the virtualenv to the prompt
- virtualenvwrapper: Loads Pythons virtualenvwrapper and jumps automatically into project dir after virtualenv activation
- django: Adds completion for Django commands
- web-search: Adds commands to search the web.
If you’re used to bash, you might be interested in the following configuration parameters as well.
setopt interactivecomments
bindkey '^R' history-incremental-search-backward
The former option activates interactive comments, so you can comments on your shell (i.e. my-command # comment).
The latter reactivates Ctrl-R to search the history.
Stay tuned for zsh tips
This week is all about zsh, so stay tuned for more zsh tips over the next days!
9 Comments